In a world where you can drop a photo into a browser and come back with something sharper, cleaner, or more expressive, the promise sounds almost magical. The reality, though, is more nuanced. The free AI Photo Enhancer Tool Free Online that you can use without installing software or signing up are impressive, but they aren’t magic wands that fix everything in a single click. They’re tools that work best when you plan the steps, not when you chase a single button that does all the work. This article breaks down what these tools do well, what tends to trip people up, and how to structure your workflow so you actually get the results you want.
To help you navigate the landscape, I compare two popular free options side by side, explain why the order of operations matters, and share practical tweaks that elevate typical results to something you’d actually print or post. By the end, you’ll have a clear playbook: what to do first, how to test models, and where to invest your time for the best free guarantees.
Highlights
- Separate restoration and upscaling to avoid muddy results
- Denoise first, then upscale for crisp textures
- Model choice matters as much as sliders
- Free tools can be powerful — compare features, not just claims
Introduction
Sharp details, zero noise, clean object removal and no Photoshop install, no account, no friction. That’s the promise behind every AI photo enhancer tool free online right now, and for once, most of it holds up.
But the results people get vary wildly not because the tools are inconsistent, but because the order you do things in changes everything. This review digs into that gap and provides concrete, testable guidance you can apply right away.
What These Tools Actually Do vs. What People Expect
Most users open an AI enhancer expecting one click to fix everything — restore the face, remove noise, and upscale to print size simultaneously. That’s where results disappoint, not because the AI is weak, but because you’re asking it to solve three competing problems at once. These tools AI Art Image Enhancer and AI Enhancer are genuinely capable, but they reward sequencing. Run restoration first, export, then upscale. Run denoising first, export, then enlarge. The AI performs better when it’s focused on one problem at a time.
This isn’t a quirk it’s the core insight that separates sharp final exports from muddy ones. Think of it like cooking: restoration is like chopping veggies, denoising is like rinsing and drying, and upscaling is the final simmer. If you throw them all into a single pot at once, you miss the nuance that makes the dish sparkle.
Restoration vs. Upscaling – Why They Need to Stay Separate
Restoration (including face recovery) and upscaling pull the image in different directions at the pixel level. Doing both in one pass forces the model to compromise. If you push for deep restoration first, you get cleaner texture to export; if you push for aggressive upscaling first, you risk exaggerating artifacts that restoration later struggles to cure. The right approach is deliberate and staged, not rushed.
- Restore first → export → reimport → upscale
- Denoise first → export → reimport → enlarge
- Never jump straight to 8× — step through 2× increments instead
The denoise-before-upscaling workflow isn’t a workaround — it’s the intended use pattern for best output quality. It gives you a cleaner slate for the upscaling model to work with and reduces the risk of amplifying noise as you enlarge.
Choosing the Right AI Model Changes the Result More Than Any Setting
Both tools offer multiple AI models and most users never switch from the default. That’s a mistake — “Real Photo” for portraits, “AI GC Smooth” for illustrations, “More Detail” for upscaling clarity. The model choice shapes the entire output before any slider is touched. The impact is dramatic, often more noticeable than fancy adjustments to sharpness or texture.
If you’re unsure, try all available models on a small crop. The difference is visible immediately and takes seconds to test. You’ll likely find that one model makes faces look natural while another improves background texture or preserves fine hair strands better. The key is to test quickly and commit to the approach that matches your subject and goal.
Feature Breakdown – Where Each Tool Earns Its Keep
These aren’t identical tools dressed differently. AI Enhancer skews toward quick browser-based fixes with zero setup; AI Art Image Enhancer skews toward precision workflows for print-ready exports. Both are free, but they serve different use cases and audiences. If you just want a fast pass to a cleaner version for social sharing, AI Enhancer often gets you there in seconds. If you’re aiming for print-ready, high-resolution output with tighter control, AI Art Image Enhancer is worth the extra steps.
| Feature | AI Enhancer | AI Art Image Enhancer |
|---|---|---|
| Photo restoration | Yes – automatic | Yes – model selectable |
| Face restoration | Included in enhance | Separate toggle, more control |
| Noise removal | Yes | Yes – with two-pass option |
| Upscaling limit | Not specified | Up to 8× (16,000px+ export) |
| Object removal | Yes – eraser + brush mode | No |
| Watermark removal | Yes – photos and video | No |
| Portrait to anime style converter | Yes – manga, anime, comic | No |
| Registration required | No | No |
| Works in browser | Yes | Yes |
| Best for | Quick edits, creative styles | Print-ready, high-res output |
The Object Removal and Creative Features – Genuinely Surprising
Remove objects from photos with AI sounds like a Photoshop premium feature. In AI Enhancer it’s a brush tool mark what you want gone, hit clean up, and the background fills in. For small objects like stray leaves or background clutter, the inpainting is seamless. For larger objects it holds up better than expected for a free tool.
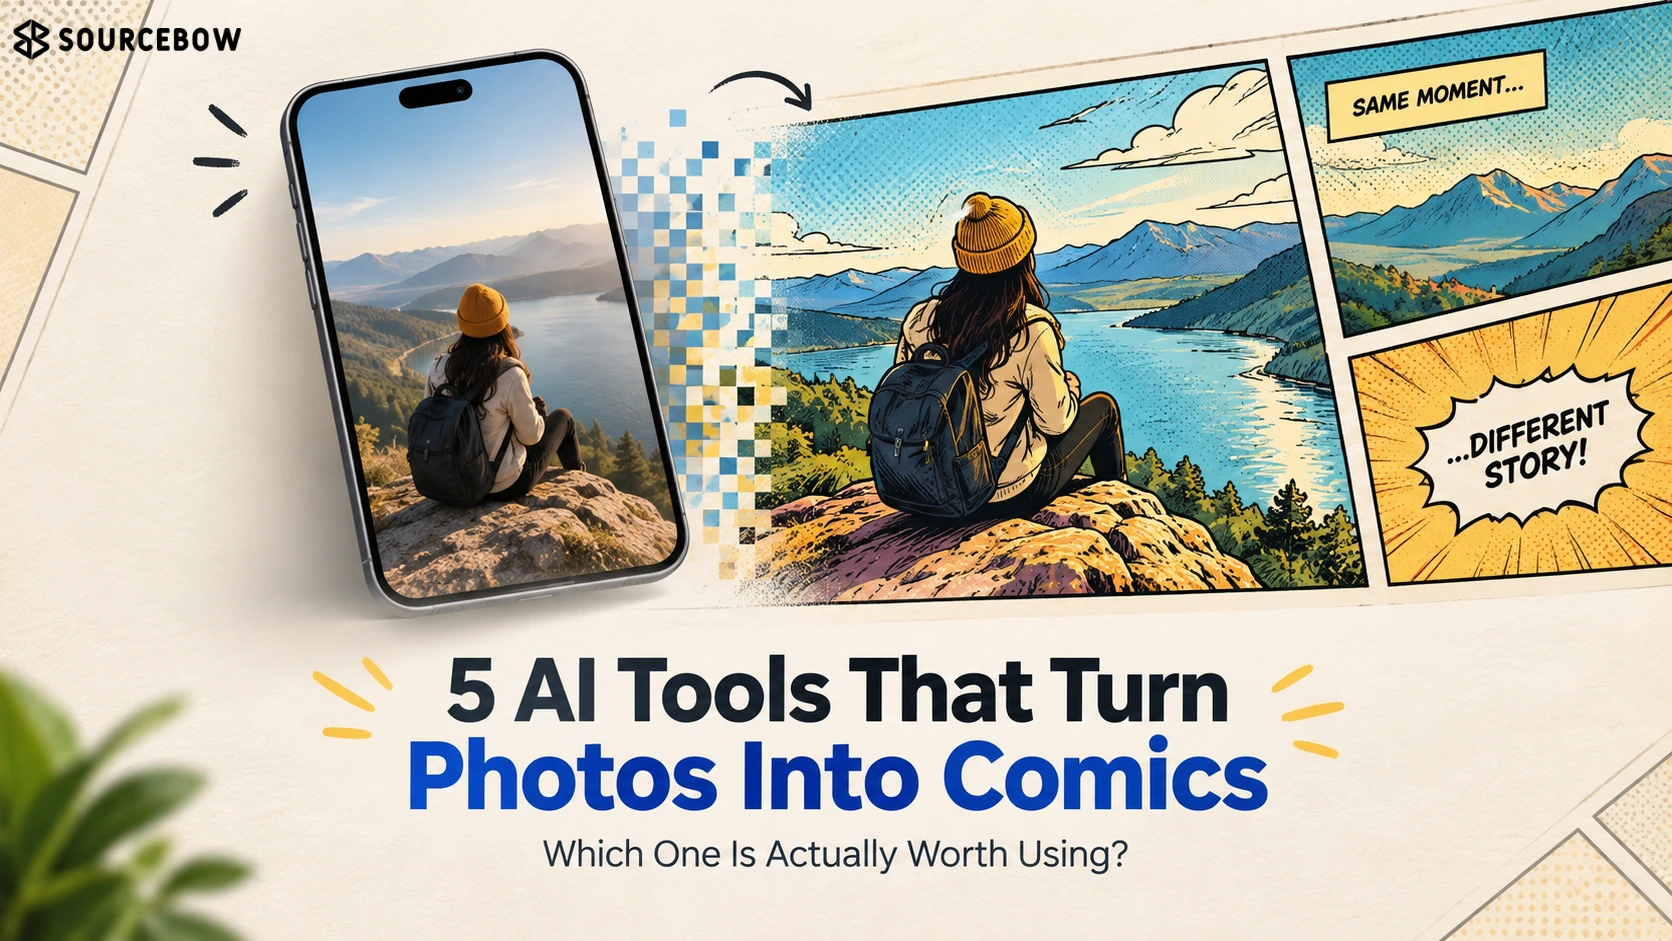
The anime and comic style converter is the wildcard. It keeps faces recognizable while applying a stylized render — manga, anime, or bold comic outlines. It’s niche, but for social media content or creative experiments, it’s a genuine differentiator that no amount of Photoshop steps replicates this quickly.
When Gradual Upscaling for Sharper Results Actually Matters
Jumping from original size to 8× in one pass introduces artifacts that the model can’t cleanly resolve. Stepping through — 2×, export, reimport, 2× again gives the algorithm cleaner input at each stage and the final image reads as genuinely sharp rather than AI-smoothed.
For print use cases, this is the difference between a 300 DPI export at 16,000px that holds up on large-format paper and one that looks soft at arm’s length. The gradual upscaling for sharper results approach takes a few extra minutes and the gap in output quality is not subtle.
FAQ
Smaller doubts that came up around workflow order, object removal limits, and creative feature quality not covered above.
Q: Does denoising before upscaling actually make a visible difference, or is it marginal?
It’s visible, not marginal. Upscaling amplifies whatever is in the source image including noise. Clean the noise first and the enlarged result stays smooth; skip it and you’re scaling up grain alongside detail.
Q: Can AI Enhancer remove large objects cleanly, or only small distractions?
It handles larger objects but the inpainting works better when you mark slightly beyond the object’s edge. The AI needs context from the surrounding area to reconstruct the background convincingly tight selections on complex backgrounds produce patchy fills.
Q: Is the portrait to anime style converter usable for anything beyond novelty?
It depends on the style chosen. Comic mode produces bold, simplified outputs that translate well to social media thumbnails and profile images. Manga and anime modes are more stylized and better suited to creative experiments than professional use.
Q: Do these tools work on AI-generated images or only real photos?
Both work on AI-generated images AI Art Image Enhancer even has a dedicated “AI GC Smooth” model for illustrations. That said, trying other models sometimes produces cleaner results, so it’s worth testing two or three before exporting at high resolution.
Conclusion
If you’ve been getting mediocre results from an AI photo enhancer tool free online, the tool probably isn’t the problem the workflow is. Separate your tasks, step through upscaling gradually, match the AI model to the image type, and the output shifts noticeably.
Both tools are worth a test run on images you actually care about. Start with restoration or denoising on a real problem image the before-and-after will tell you everything.