Building an API Server and Testing It with Swagger
Let’s be real, APIs can sound complicated at first. But once you actually sit down and build one, it’s not as scary as it seems. The fun part? You can even test them right inside the browser using Swagger. No need to keep jumping between tools.
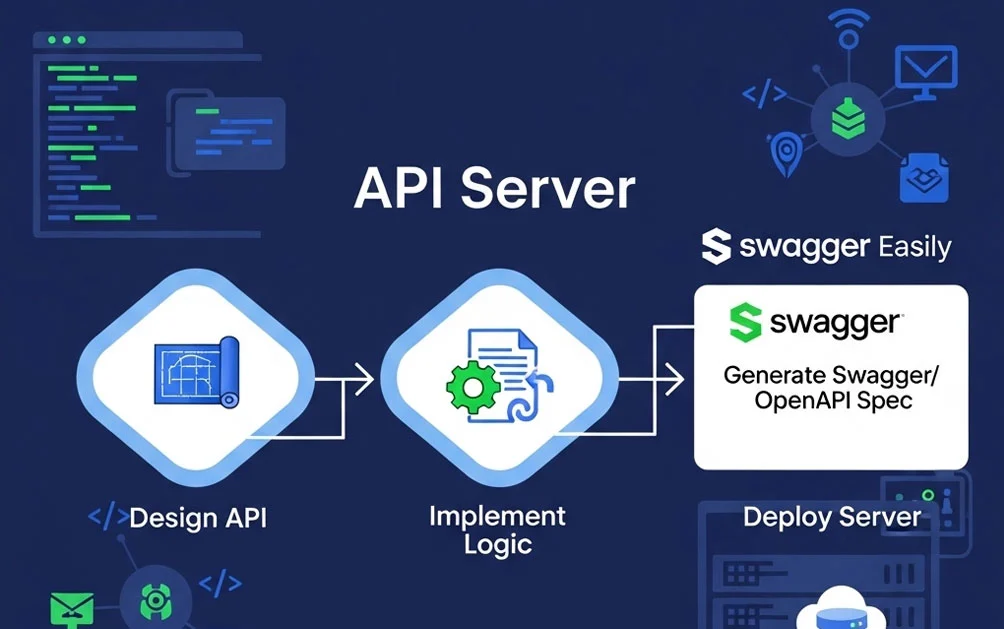
So here’s a simple walk-through of setting up an API server, hooking it with Swagger, and then checking if everything works.
Getting things ready for an API Server with Swagger
First things first, make a new folder for your project and open it in a code editor. Most people use VS Code. It’s free, light, and just works.
Then run this command to set up the project:
npm init -yThat just creates the starter file so you can add stuff later.
Next step is installing a few helpers:
- Express, which basically runs the server.
- Swagger UI Express, which gives you the Swagger interface.
- YAML JS, which helps read configuration files.
Done with that? Great.
The very first server for API Server with Swagger
Now make a file called server.js. This is where the magic begins. Add a simple Express server that shows “Hello World” when you run it. Start the server and go to http://localhost:3000 in your browser. Boom, there’s your first API.
To bring Swagger in, you’ll also need a swagger.yaml file. Think of it like a recipe card that explains what each API does.
Seeing Swagger in action with API Server with Swagger
When you connect everything, visit http://localhost:3000/api-docs. That’s Swagger’s interface. Here you’ll see the API you just made, documented nicely with buttons to test it.
The cool part? You can literally click “Try it out,” run the request, and Swagger shows the response. It even tells you the URL, the status code, and the response body. Super handy.
Making it more useful with CRUD on an API Server with Swagger
One API isn’t enough. Real apps need to Create, Read, Update, and Delete data — what developers call CRUD.
So here’s the idea: make a little list (like a pretend database). Each item has an ID and a name. Then set up these routes:
- GET to fetch items.
- POST to add new ones.
- PUT to update them.
- DELETE to remove them.
All of this can be tested straight in Swagger. Add an item with POST, check it with GET, update it with PUT, and finally remove it with DELETE. Run GET again and you’ll see it’s gone.
Trying it out with API Server with Swagger
Here’s how it works step by step:
- GET items – At first, the list is empty.
- POST item – Add something new, like
{ "name": "Test Item" }. You’ll get a response with an ID. - GET items again – Now the new item shows up in the list.
- PUT item – Update it by sending a new name along with its ID.
- DELETE item – Remove it using its ID.
- GET items one more time – The list should now be empty.
It’s a simple cycle but shows how real APIs work.
Why Swagger makes life easier for API Server with Swagger
Normally, testing APIs means copying URLs into tools like curl or Postman. With Swagger, everything’s already there, neat and clickable. Plus, the documentation stays right next to the code, so it never goes out of date.
Final thoughts about API Server with Swagger
That’s pretty much it. You started with a blank folder, built a small server, added Swagger, and now you can test APIs like a pro. The more you play with it, the more natural it feels. And once you get the hang of CRUD, you can move on to more complex stuff.
APIs aren’t really that scary. You just need to see them in action once.


